No-knead Bread Recipe
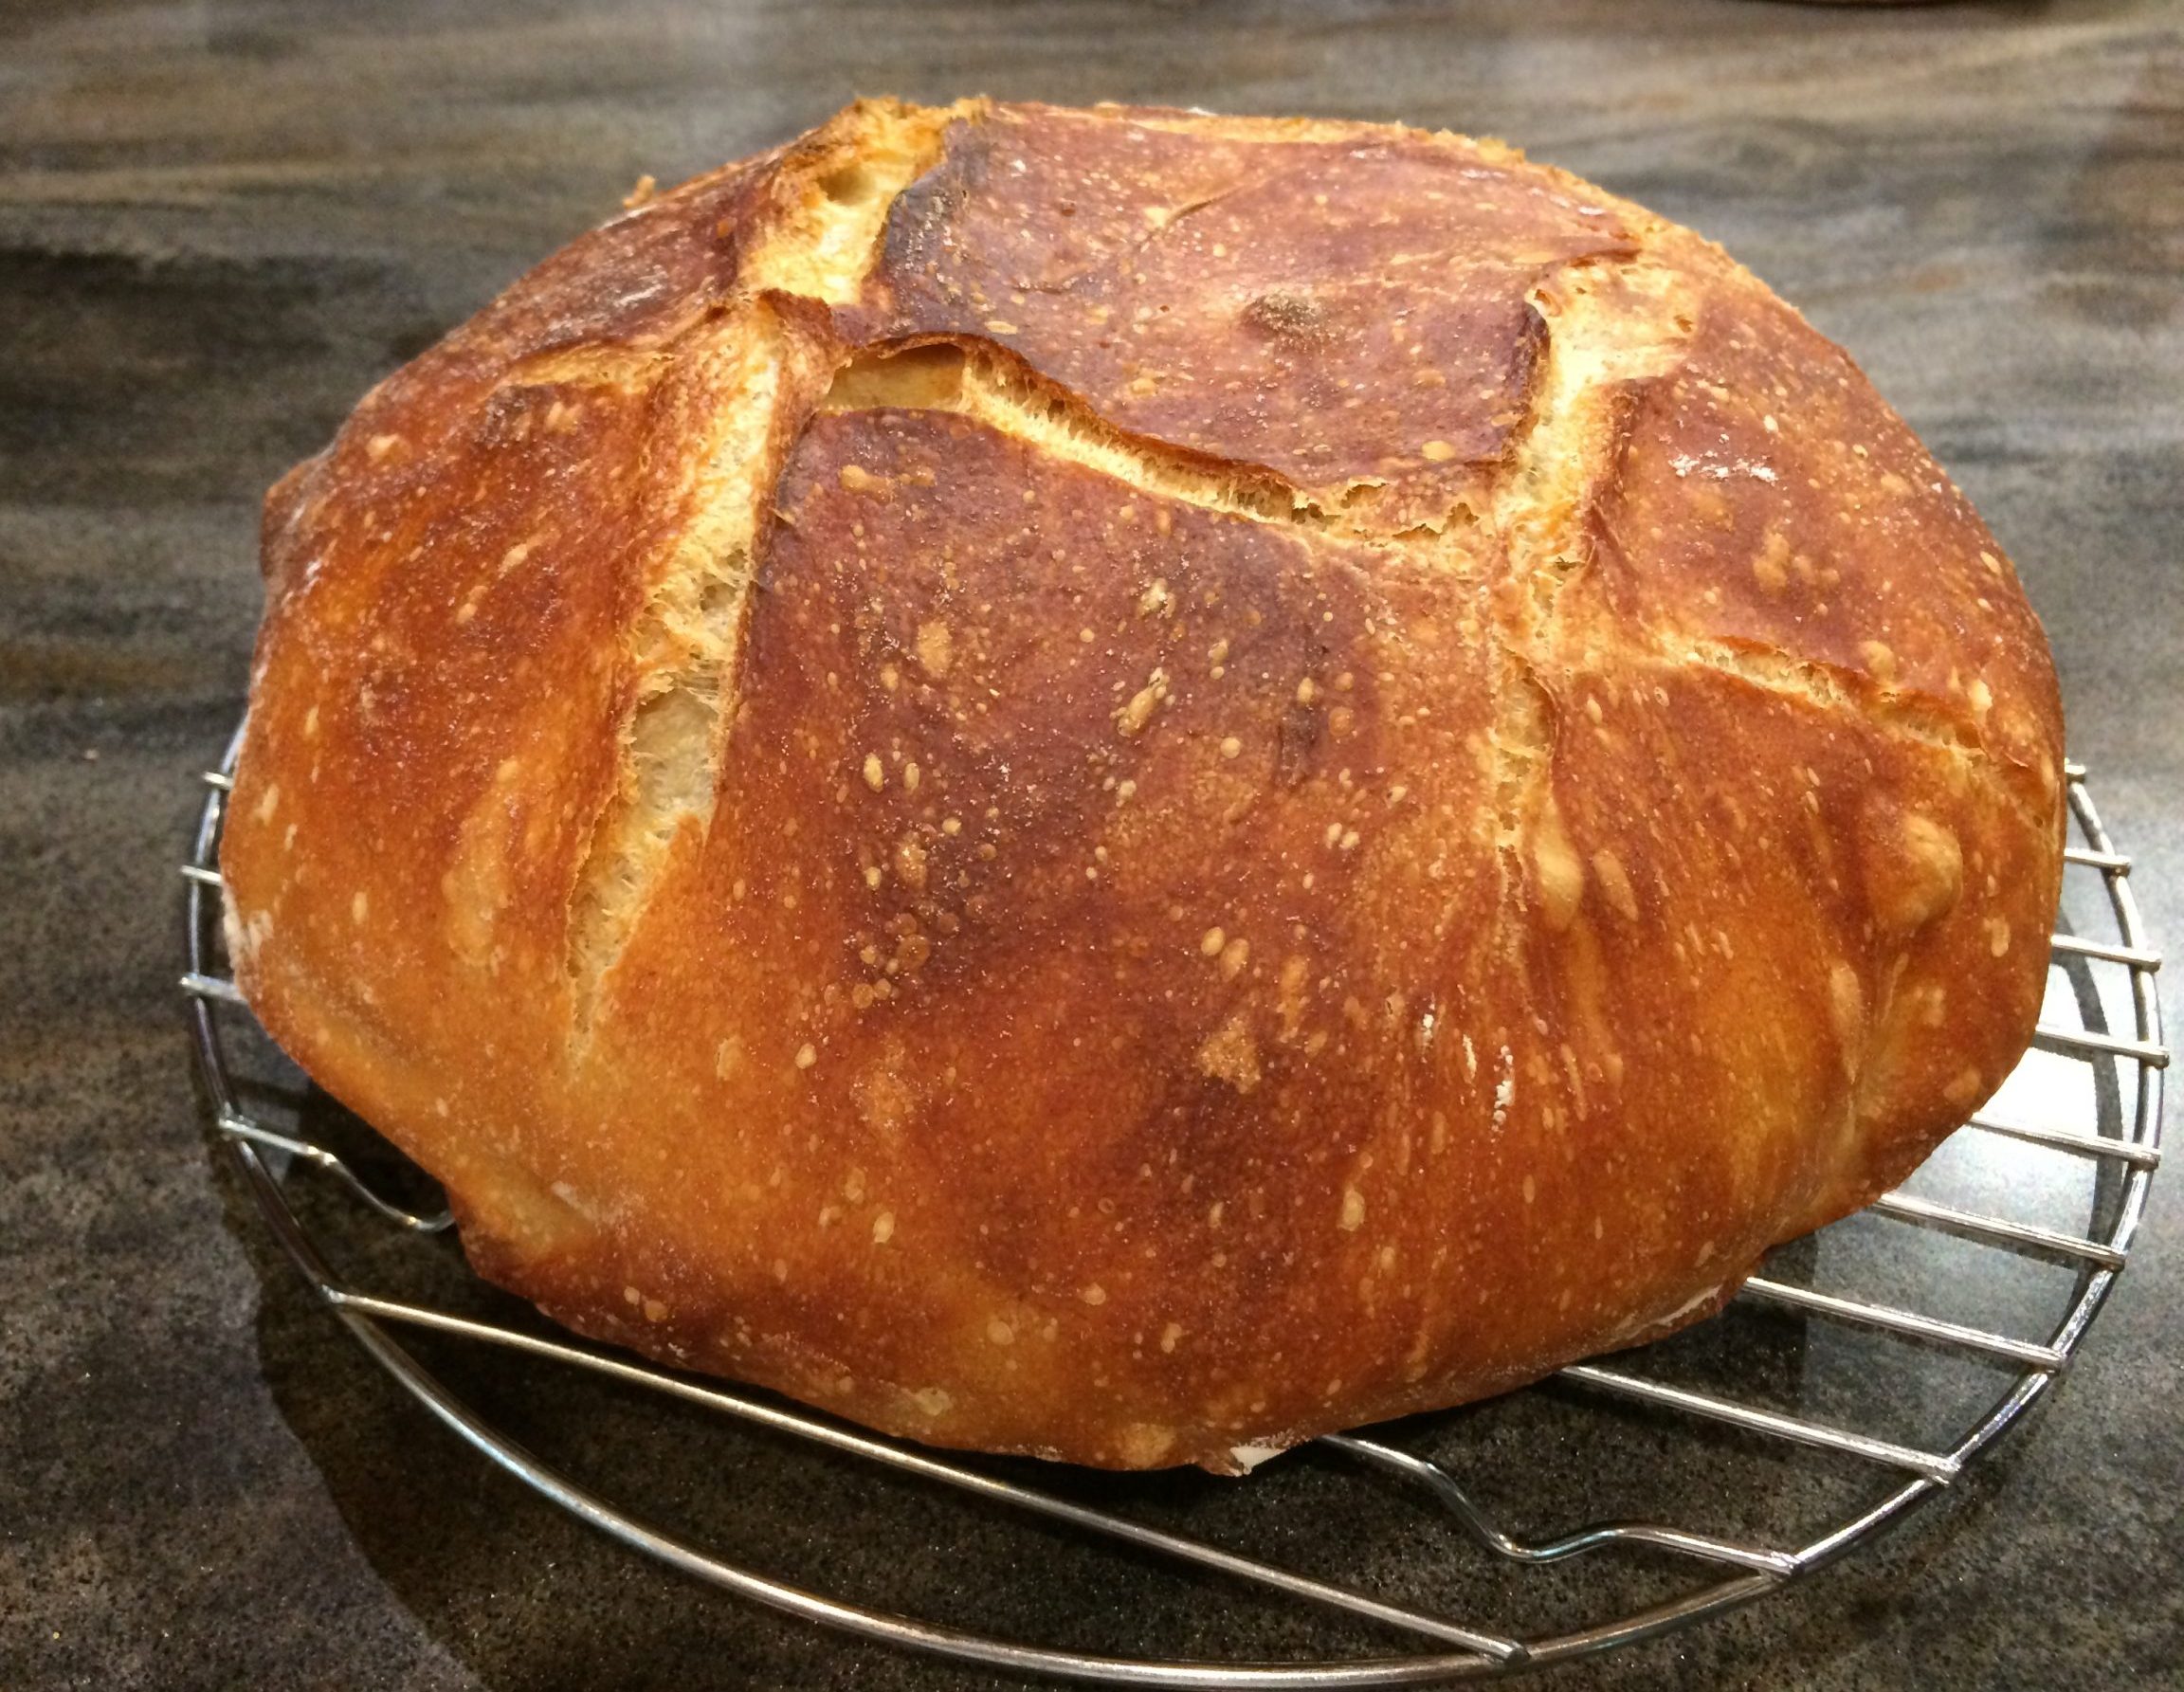
This recipe is a combination of a recipe from the Brod&Taylor No-Knead Bread, Better No-Knead Bread Recipe from J. Kenjilopez-Alt, and hints from the Messy Baker. Credit where credit is due!!
Ingredients
Equipment
Method
Day 1
- In a large bowl, add all the dry ingredients and mix together with a whisk.
- Add the water and mix with a wooden spoon or spatula until the mixture is evenly hydrated. You basically want to mix until all the flour looks like it has been absorbed by the water. It will look very shaggy.
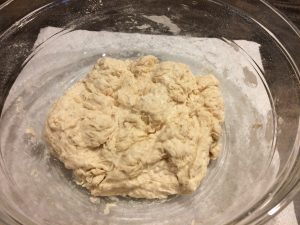
- Cover the bowl with plastic and let rest in a warm place for 4 to 5 hours. If you're using a proofing box, set the temperature to 70 degrees. And, even with a proofer, you'll want to cover with plastic wrap to keep the dough from drying out.
- After 4 or 5 hours, the dough should start looking a little more mixed.
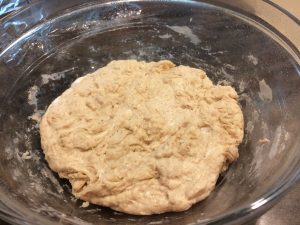
- At this point you will “turn” the dough for the first time. With a wet spatula or your hands, you will flip the dough onto itself 8 times. That is, scrape the dough from the side of the bowl, lift and stretch it a bit before folding it in to the center of the bowl. Rotate the bowl and repeat. You will do this a total of 8 turns.
- Cover the dough again and rise again for 4 to 5 hours.
- Now we’re at about 8 hours in the process, so we will turn again.
- Cover the dough again and rise again for 4 to 5 hours.
- Now we’re at about 12 hours and we’ll do one more turn. At this point, the dough is looking really good. You can now either let it rise until you’re ready to go to bed or cover well with plastic and place it in the refrigerator for 3 days. For example, if you started on a Tuesday morning, you will leave it in the refrigerator until Friday.
Day 4
- Dust your work surface with some flour. Remove the dough from the refrigerator and scrape/scoop the dough from the bowl onto the floured surface. Turn the dough one more time and then cover the dough with a floured tea towel and let it rest for 15 minutes.
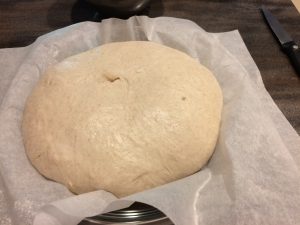
- Line a pie plate with a long sheet of parchment paper. The sheet of paper should be about 16 inches long. The pie plate shape keeps the dough in a nice round shape while it's rising. After the dough has risen (next step), the parchment paper will help to lift the dough from the pie plate into the dutch oven for baking.
- After the dough has rested for 15 minutes, you can optionally turn the dough one more time to shape it. Either way, place the dough right side up on the parchment lined pie plate. Cover with the floured tea towel and let rise for 3 to 4 hours. The image below shows what the bread should look like when it's finished rising.
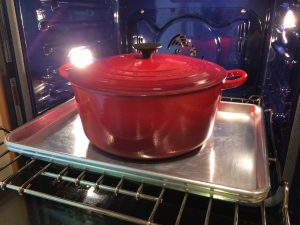
- Towards the end of the rising time (maybe 30 minutes), set over rack to the lower bottom of the oven. Place 2 cookie sheets (one on top of the other) on the rack. The cookie sheets prevent the bread from getting too dark during baking. On the cookie sheets, place your dutch oven, covered. Set the oven to 450 degrees.
- When the dough has finished rising the next step is to score the bread. You want to put some slashes on top of the dough – these make those nice cracks you see. This is called 'scoring'. To do this, use a sharp knife or razor and make 1/2 inch deep slashes. I’m lucky if I can make 2 good ones. Don’t worry if they don’t come out like you want.
- Remove the Dutch oven from the hot oven, remove the lid, and using the parchment paper, lift the dough from the pie plate and place it in the Dutch oven. Put the lid back on the Dutch oven and place the Dutch oven back on top of the cookie sheets. Bake for about 30 minutes (with the lid on). After 30 minutes, remove the lid from the Dutch oven, turn the Dutch oven (e.g. front to back) and bake for another 10 to 20 minutes longer. Here we’re looking for a nice crust color.
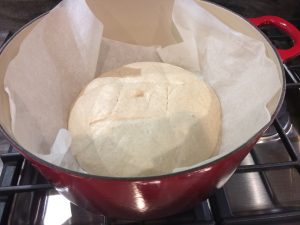
- Remove the Dutch oven from the oven when done and remove the bread from the Dutch oven to cool on a wire rack. Let cool for awhile before attempting to slice it!

